How To’s (Page 1 of 2)


Welcome to our How To’s category! This is Page 1 of 2 of How To’s related content. Below you will find articles, posts, coupons or samples featuring How To’s. To see our latest posts, visit Blog Home.
I’ll be honest: we don’t often see sticker residue from our custom vinyl stickers. When it’s time to peel them off, in our experience, our stickers peel off cleanly and in one piece due to their durable vinyl and high quality adhesive. There is no tearing or sticky residue when peeled from indoor surfaces.
That being said, any sticker or label that is exposed to extreme outdoor heat and cold may transfer residue to the surface when removed. Even worse, a cheap paper label or thin vinyl sticker may break or tear apart when you attempt to remove it. If that happens, you may be looking for information on how to get sticker residue off a variety of surfaces and we hope to offer some quick tips for how to deal with it.
This is particularly an issue with low quality paper labels you’ll find on a variety of products sold in stores. While we don’t print inferior quality labels like that, we’re happy to offer tips on how to take off sticker residue from any source.
Pro Tip: Goo Gone Sticker Lifter or Automotive Sticker Remover
We are big fans of Goo Gone products. They’re perfect for removing a variety of adhesives, tar, sap and sticky materials from a wide range of hard surfaces. The active ingredient in Goo Gone is based on orange oil so it’s safe to use, smells pleasant, and works fast.
We like to keep this product on hand for when we are faced with sticker residue. However Goo Gone is not a perfect solution for all surfaces. The product is not recommended for stainless steel, or unfinished wood surfaces. Sealed stainless surfaces would be ok, but the acidity from the chemical could cause mild rust spots if left on raw steel for too long.
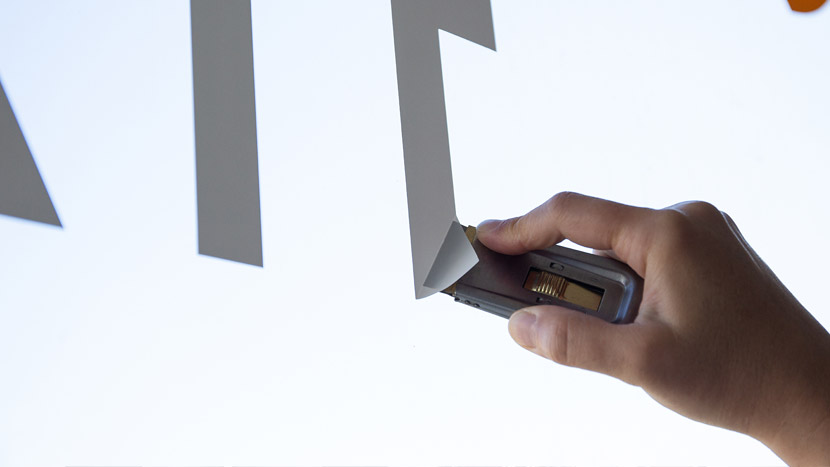
How To Get Sticker Residue Off Glass
If you’re cleaning stickers or vinyl decals off glass you might be left with a mess of leftover sticker residue. Fear not! It’s easy to remove sticker residue from glass. In fact, you can do it without any special chemicals usually.
For glass sticker residue we always like to start with a “glass scraper”. These wide razor blades are found in any hardware section and are very affordable. You can go cheap and get good results, but there are a variety of window scrapers that have enhanced rubber grips or wider blades for faster work.
Side note: These window scraper blades are handy to have when you paint windows too. Simply paint around the glass and then clean up your edges with the blade while the paint is drying. Easy!
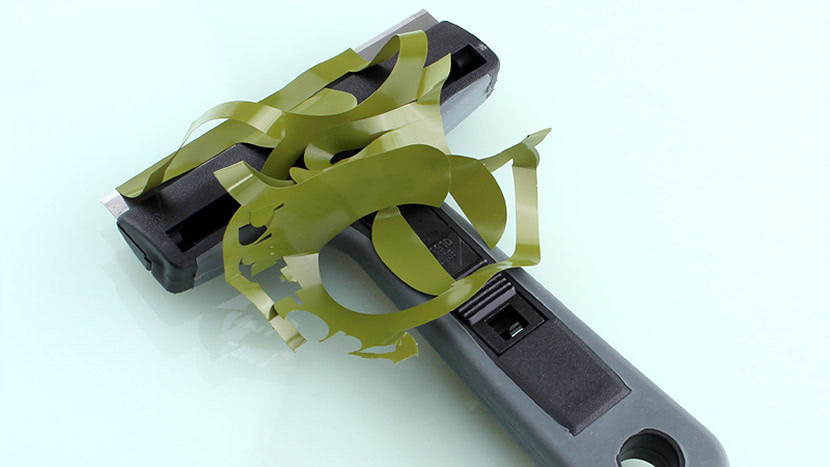
To properly use the window scraper blade, you simply scrape the stickers at an angle much like shaving. Take care to not use an up and down motion that may scratch the glass (just like you would take care with your skin). If you go at an angle there will be no glass damage.
If you can start by peeling the full sticker off then it is even easier to use the blade to simply clean up the remaining sticker residue from glass.
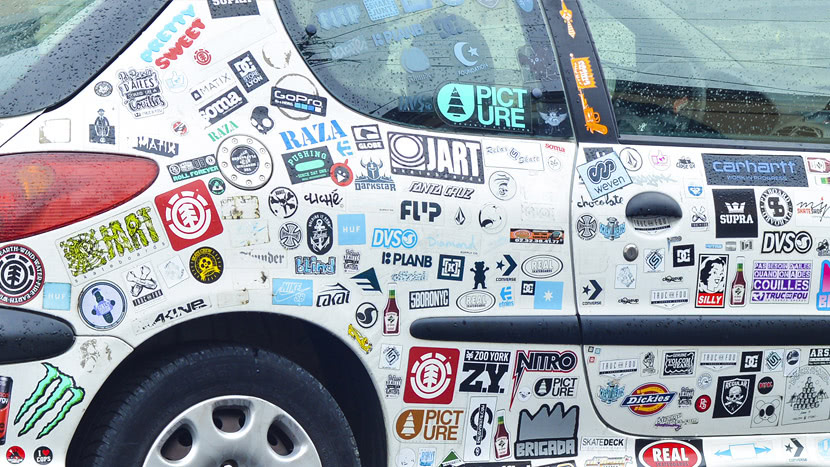
How to Remove Stickers From a Car
If you’re dealing with bumper stickers or looking for information on how to remove a sticker from a car window, you’ve come to the right place.
When removing stickers from car bumpers or painted surfaces we always like to begin by peeling. Our custom stickers will not crack, peel or tear when you remove them. Other stickers and labels could behave in a number of ways leaving you with an annoying mess. Since the paint on a car is durable, but not as hard as the glass of the car windows, you’ll need to mostly use your fingers to peel the sticker off. Once the sticker is off, you’ll then need to deal with the remaining sticker residue.
We recommend using a product like Goo Gone to clean remaining bumper sticker residue off your painted vehicle surfaces. It is safe to use to remove not only sticker residue, but even paint transfer from bumps and scuffs from other vehicles! (make sure to apply wax to any surface you use solvent on to protect the paint finish and restore the clearcoat shine)
How to get a sticker off a car window
Since car windows are more durable than painted surfaces, we recommend using the glass scraper method outlined above.
– Start by peeling the sticker off if possible.
– Use the glass scraper to remove any remaining sticker material or residue.
– Clean the glass with a glass cleaner. We like foaming cleaner from Invisible Glass
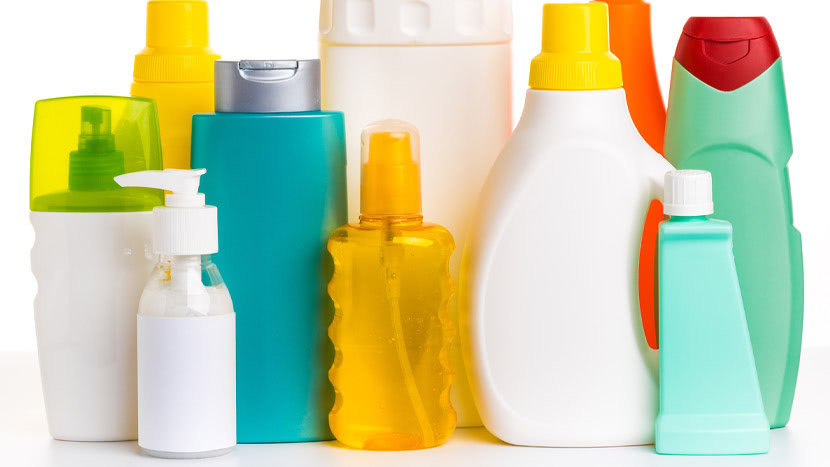
How To Get Sticker Residue Off Plastic
Plastic is a pretty fragile surface all things considered. It is easily scratched or marred so you need to be careful with your sticker removal techniques. For some things like repurposing a spray bottle, you may not be as worried about surface scratches, but things like toys or storage containers you might want to keep nice, it’s best to go slow and careful. Let the chemicals do the work.
If you need to know how to remove sticker residue from plastic, we suggest trying to peel your sticker off gently at first. If it is not possible, begin with a chemical like Goo Gone and try to get the adhesive to loosen allowing easy peeling and removal.
Do not use harsh chemicals or abrasive scraping tools on plastic surfaces.
If your sticker is already off but residue remains, then a light coat of Goo Gone is just the trick you need to remove the adhesive and protect the plastic surface you’re working with.
How to Get Sticker Residue Off Clothes
So far we’ve tackled how to remove sticker residue from hard surfaces, but what about fabric? You may be wondering how to remove sticker residue from clothes without damaging them or leaving stains. The trick is to be patient and careful.
First, get a toothbrush or a soft bristle brush used for cleaning.
Apply isopropyl rubbing alcohol to the adhesive and carefully brush it. Ideally the alcohol will make the adhesive become easier to scrub off as it clumps off.
Another method is to use warm white vinegar. It should act in a similar way, making the adhesive become easier to scrub out of the fabric.
Finally Goo Gone does say it works on fabric, but we would recommend trying the other ideas first. We’re always for trying the least abrasive solution first. If you get an oil stain on your fabric from the goo gone, you’d want to follow up with a spot treatment of something to break up the stain (even foaming dish soap works wonders on oil stains) and wash as usual.
How To Remove Sticker Residue From Metal
Since metal is an extremely durable surface you have a broader choice of options for removing stickers and sticker residue. You can start by peeling and then use a chemical like Goo Gone to dissolve the remaining residue.
If the sticker wont come off in one piece or is hard to “get started” by peeling with your fingers, use a plastic scraping tool. Most home stores sell these as plastic paint scrapers. This kind of tool will not damage the metal surface and can help you get leverage for peeling the sticker material from the metal surface.
Do not use a wire brush or metal scraping tool on metal unless you plan on painting the metal surface. The metal scraping tool will certainly scratch the metal surface.
For any remaining adhesive we recommend Goo Gone to dissolve the tacky adhesive that remains after removing the sticker.
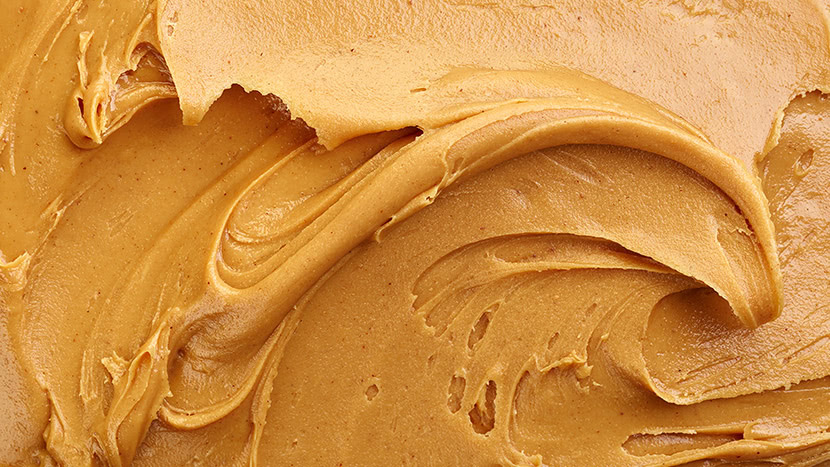
Honorable Mention: Using Peanut Butter to Remove Sticker Residue
You may have heard about this, but does it work? Sure! The oil content in peanut butter, when applied to sticker residue, will soften and remove the glue just enough to wipe off cleanly.
Pros:
– You probably already have some in your kitchen.
– Smells like peanut butter.
Cons:
– Not good for fabric. Will leave oil stains.
– Not extremely effective, takes a while to work and may require multiple tries.
– Leaves your surface smelling like peanut butter.
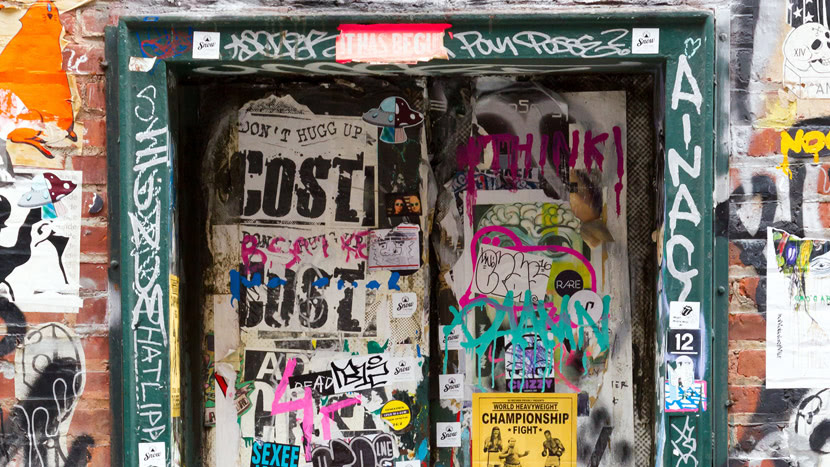
How To Remove Graffiti
In a worst case scenario where you have a combination of graffiti media to remove, you have to bring out the big guns. Paint, stickers, flyers and more can build over time into an incredibly thick and durable shell that is difficult to remove.
Small spots of graffiti can be removed from most surfaces with a heavy duty paint removing chemical like Goof Off – We find that this line of products is a little more harsh than the Goo Gone products made with orange oil. It is always best to start by trying a gentle or natural solution and work your way up to more severe solutions.
A pressure washer is more than likely the best solution for a mess like depicted above.
To reduce water damage, try to detach and clean individual surfaces when possible. Pre-soaking with water or pre-treating the surface with graffiti / sticker removing chemicals will help to soften and loosen the stickers, adhesive and paint before you begin your pressure washing. A wide variety of graffiti cleaning chemicals can be found at Home Depot.
Always wear a mask, eye protection, sturdy close-toed shoes and gloves when operating a pressure washer.
Use a light pressure setting to begin with. This will help to protect the base paint underneath. Only increase pressure if lighter pressures aren’t working to remove the mess. Always remember to sweep up any loosened materials when cleaning is complete.
Final Thoughts
We hope these tips have helped you in some way. While our own custom vinyl stickers rarely leave residue behind, we know there is a wide world of stickers out there and inferior stickers and labels can be frustrating! Good luck with your attempts to remove sticker residue!
Last Modified: January 20th, 2022
We’ve added a great new feature that lets you customize your review by adding a photo! Now you can share your amazing sticker designs with us and the rest of our customers! Thanks for sharing your reviews with us!

Last Modified: January 20th, 2015
If you’d like to place a reorder for custom stickers at StandOutStickers.com watch this video for a step by step walkthrough of our easy reorder process.
A transcript of the video is below:
Hi everybody, today we’re going over reordering on standoutstickers.com.
Click the “My Account” link in the top banner. Enter your email address and password, then log in.
Under “My Account” click the “View Previous Orders” link.
This is a list of your previous orders. Click the details link on the right side of the order that you’d like to REorder.
Take a look here at your artwork, the quantity and the size.
These will all be placed into your cart.
If you need to make edits, that’s something you can do.
Review your billing information, shipping information, and your contact information and click the orange REORDER button.
This adds your order to the cart.
It skips the artwork upload process. You’ll notice the artwork, quantity and size have all been selected for you. You can continue to checkout right now, or you can edit your order.
Click the green edit icon to edit the quantity.
You can change the quantity now if you need more or less than you did previously.
Let’s order ten thousand. Click save to continue.
Our order has been updated to 10,000 stickers.
Everything looks good let’s checkout.
Your billing, shipping and contact information should be saved from your previous order.
Take a moment to review it to make sure it’s correct, and continue through the checkout process.
Select your shipping option and view this Ground Shipping Map to see how long it takes FedEx to get your order from us to you with the Ground Shipping method, our cheapest shipping option.
Click continue. Enter your payment information and review your order.
Everything looks good! Ten Thousand stickers on the way! Click the finalize order button to finish your order.
Order received, thank you! Take a minute to review the information on this page and share the love on twitter, facebook and google plus.
Review our digital proof notice and if you have any more questions, contact us at info@standoutstickers.com or livechat on regular business hours.
Wow my stickers turned out great!
Thanks for watching! StandOutStickers.com
Last Modified: June 23rd, 2014
This applies to Custom Contour Cut or Custom Die Cut Stickers only. If you our interested in ordering our standard shapes please use our sticker templates.
If you are unsure of how to set up a die line on your custom sticker leave it to our art team. They’ll make sure it’s perfect. (photo below) A customer wanted a contour cut around their sticker and needed our assistance. We sent over two digital mock ups so they could choose which looked best. The pink line around the sticker represents the “contour cut” and the black line represents the actual sticker die cut.
In this case the customer chose our Kiss Cut Stickers and kept a traditional die cut (4″ x 2″ Rectangle Sticker) to help keep the cost down. By going this route they were able to save a die fee.
Stay tuned for a photo shoot of this job completed.
Last Modified: December 8th, 2009
By outlining fonts in Adobe Illustrator this will eliminate the error of us not having the fonts that you supplied us. You wont need to send us your fonts. Instead, when preping your file just take (one) extra step to convert to outlines.
Step 1: Select all your type / fonts

Step 2: Go to Type > Create Outlines

Step 3: You now have outlined fonts.

Now just save your file and submit it to us! To view other quick tutorials that we offer be sure to visit our How To spot on our blog.
Thanks for checking in.
Last Modified: December 6th, 2009