Cut Vinyl Decals (Page 1 of 1)


Welcome to our Cut Vinyl Decals category! This is Page 1 of 1 of Cut Vinyl Decals related content. Below you will find articles, posts, coupons or samples featuring Cut Vinyl Decals. To see our latest posts, visit Blog Home.
StandOut Stickers has been a go-to source for many customers looking to order cut vinyl decals for years. After some feedback, we have adjusted our website to now allow ordering of custom window decals online!
Until now though, we have required customers to e-mail for ordering. This is because of several reasons outlined below. But if you’re ready to order custom decals, grab your vector artwork and head to StandOut Stickers!

This custom product is different from our regular printed custom stickers, in that it is a single color design cut out of solid colored vinyl.
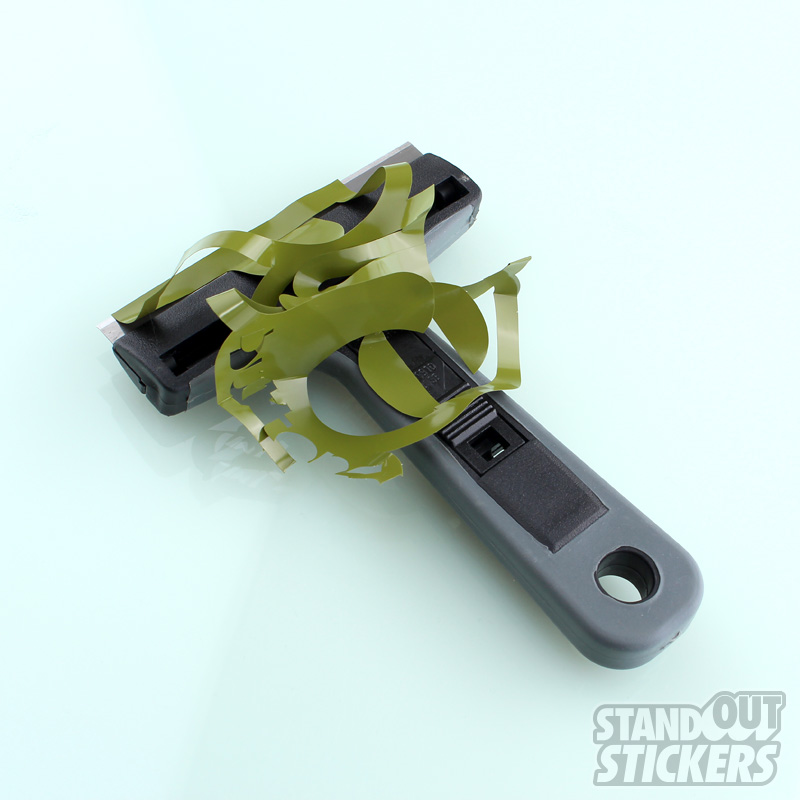
Your design’s negative space is then “weeded” or manually removed. Next, a layer of masking tape is applied over the top. This lets you apply a decal design with floating pieces, much like the window lettering you’ll see on business doors, or even on car windshields.
Our custom decals are weather resistant and can perform for years indoors and outdoors. The solid colored vinyl is not printed, so there is no ink to fade, scratch or blur via sun exposure.
While we can print just about any artwork as a full color printed sticker, our cut vinyl window decals require special artwork and we’ll explain what kind and what the difference is.
Custom Decals Require Vector Artwork
Most images you see on your screen are called “Raster” or “Rasterized” graphics. These are made of pixels and when you enlarge or reduce the image size the pixels must be recalculated by the program displaying or printing the image. When you enlarge a raster graphic you most certainly lose fidelity as the software tries to “fill in” the details with limited information. When shrinking raster graphics, the fidelity loss or “pixelization” is less noticeable.
Vector artwork is an image that is made of data points that represent filled paths. These paths make shapes that can be scaled perfectly up and down with no loss in quality because they don’t represent a fixed quantity of pixel information.
Vector shapes can also be sent to cutting machines to tell the blades or lasers where to cut. These vector cut paths are used to create Cut Vinyl Decals out of rolls of solid colored material.
Cut Vinyl Decals Require Single Color Artwork
Since these decals are not “printed” they require your design to be one single color. This color doesn’t really matter, as the design is “cut” into a solid colored material of any color you request. The first most important thing is that you design is vectorized. After that, you’ll want to make sure the entire design can be translated as one color.
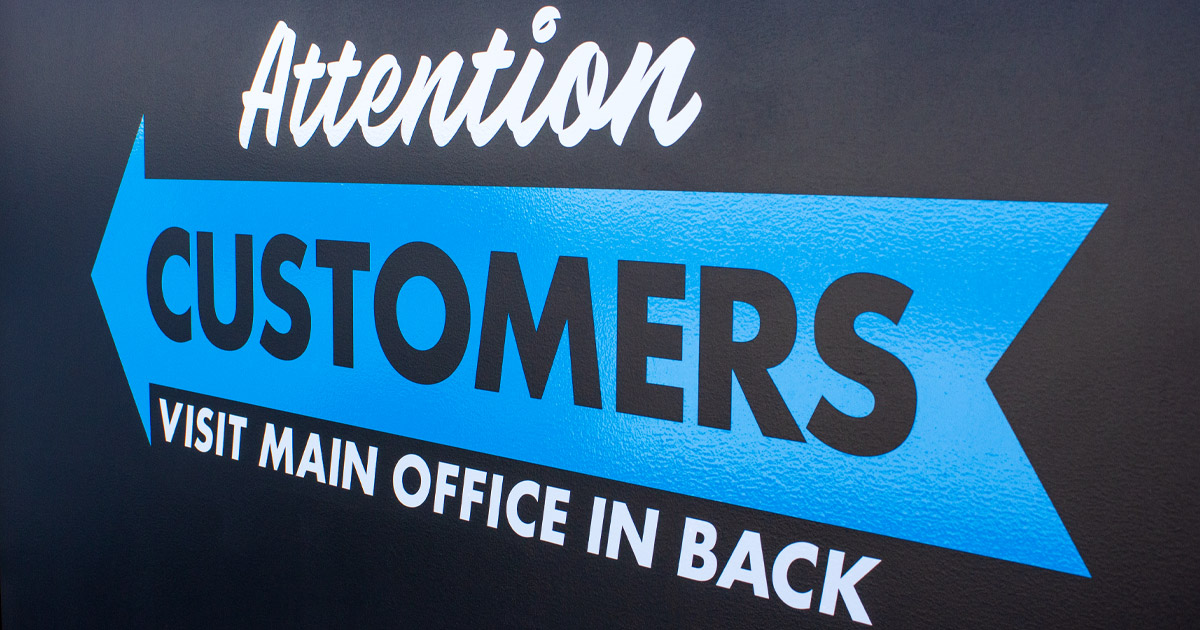
If you would like a two color or even a three color decal installation, you’ll want to separate the elements of your design and order them as unique decals. See the photo below for a two color decal install we recently did at our new offices.
While we offer glossy black and glossy white as our default options at no additional cost, you can pick any of our custom decal colors for your order. Simply choose “Custom” on the vinyl color customization and enter your preferred color in the cart notes field when checking out. If you forget to note which color you want, no worries. We will be in touch during the proofing process before manufacturing your custom decals.
Custom Vinyl Decals Require Simple Artwork
Finally, it is important to recognize the limitations of the cutting and weeding process involved with cut vinyl decals. It is also important to recognize that delicate designs create weak decals.
We need to sometimes simplify a design to create a reasonable decal cut path. Including a ton of fine details like dust, dirt and scratches makes for an impossible manual weeding task, and also reduces the durability of the installed decal.
We like most free floating pieces of a cut vinyl decal to be at least 1/8″ wide.
Designs with dirty splatter effects or detailed halftone styling will not be able to be produced quickly. Lots of tiny thin elements are also not good for durability. The larger area that a decal has to effectively cling to the surface, the better. We can help advise changes or simplify your design for a reasonable fee if it is deemed too complex or fragile.
Note:
We require vector art files for ordering custom decals online (.ai, .eps, .pdf). Please contact us ahead of ordering if you have any questions or concerns about your design or the vectorization process.
You can order multiple colors of cut vinyl decals and combine them to make multi-colored installations like this one, that you’ll find when you visit us at our new headquarters in Brunswick, OH!
Watch: Here is quick video we made on the topic of installing cut vinyl decals. This video is brief and these tips are best for small decals. For larger decal installations we recommend using a decal installation spray called Rapid Tac to help give you a little play with the decal when it hits the surface.
Last Modified: April 18th, 2023
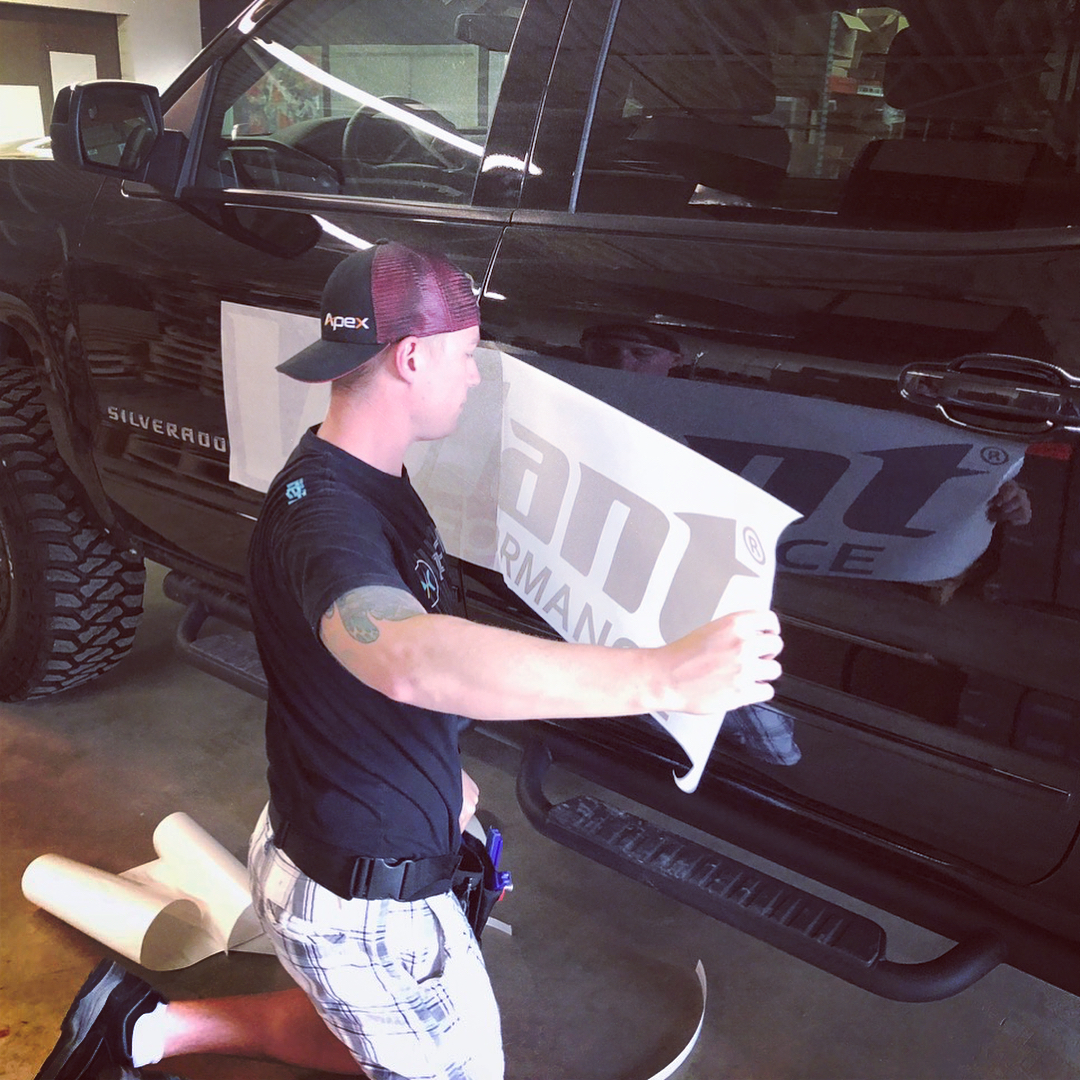
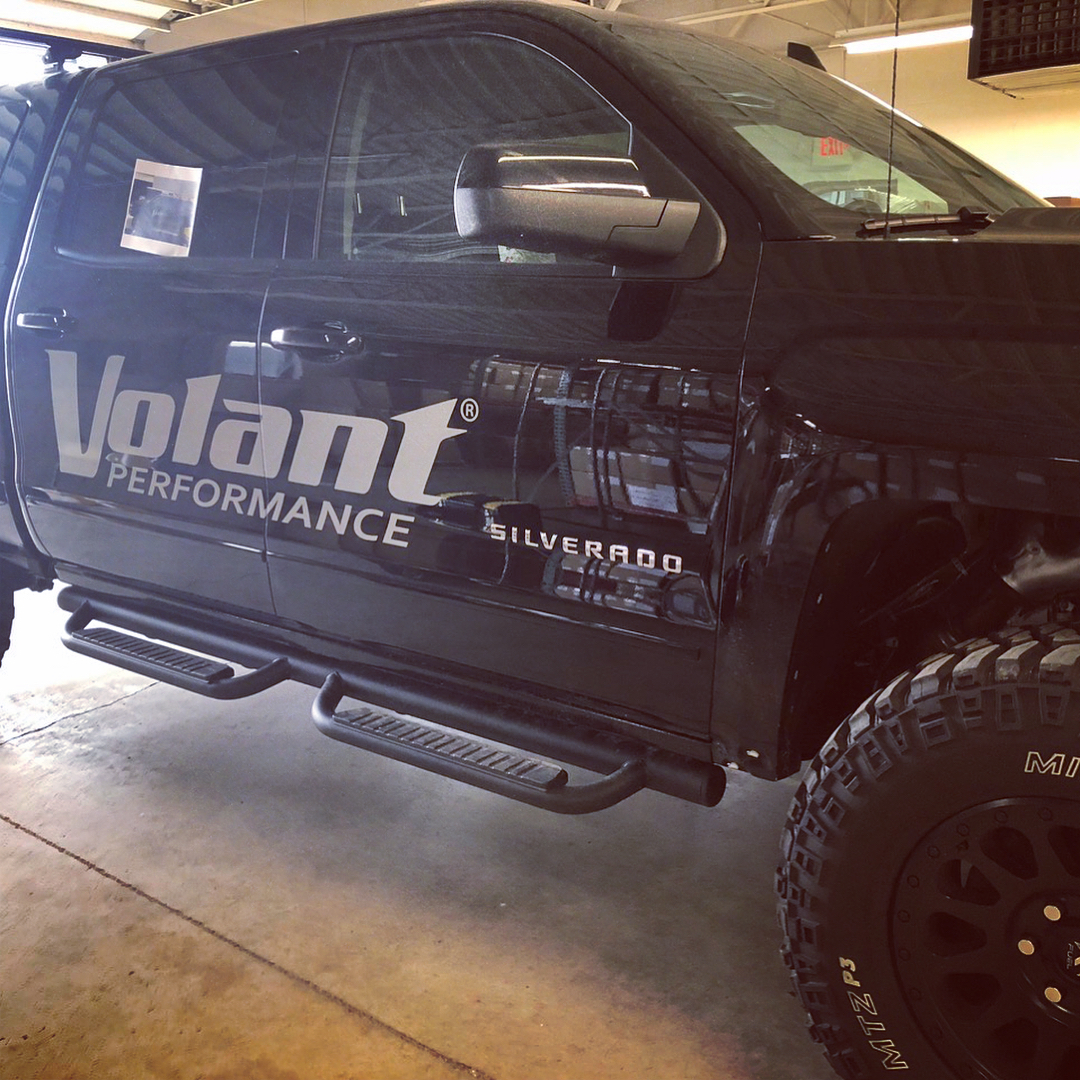
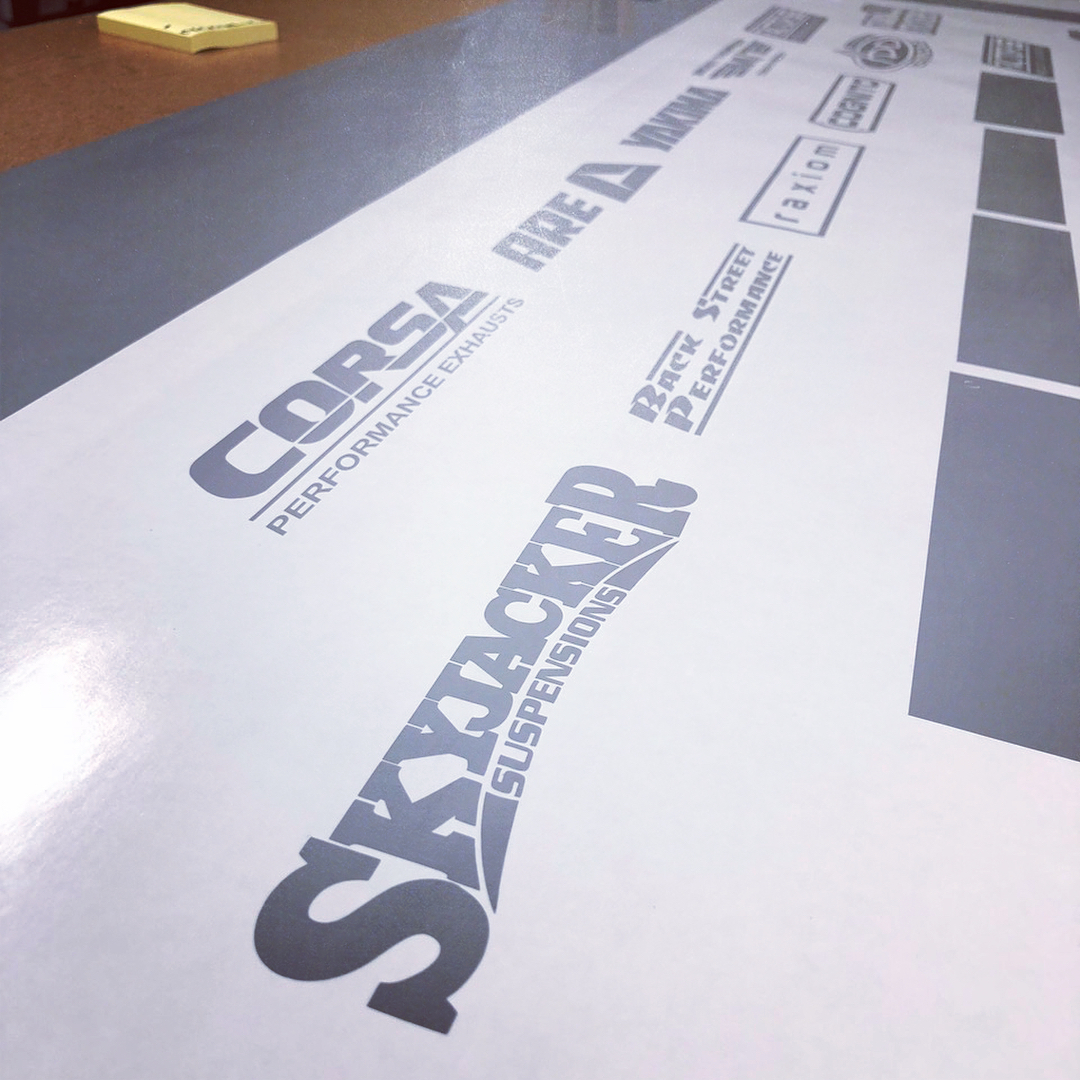
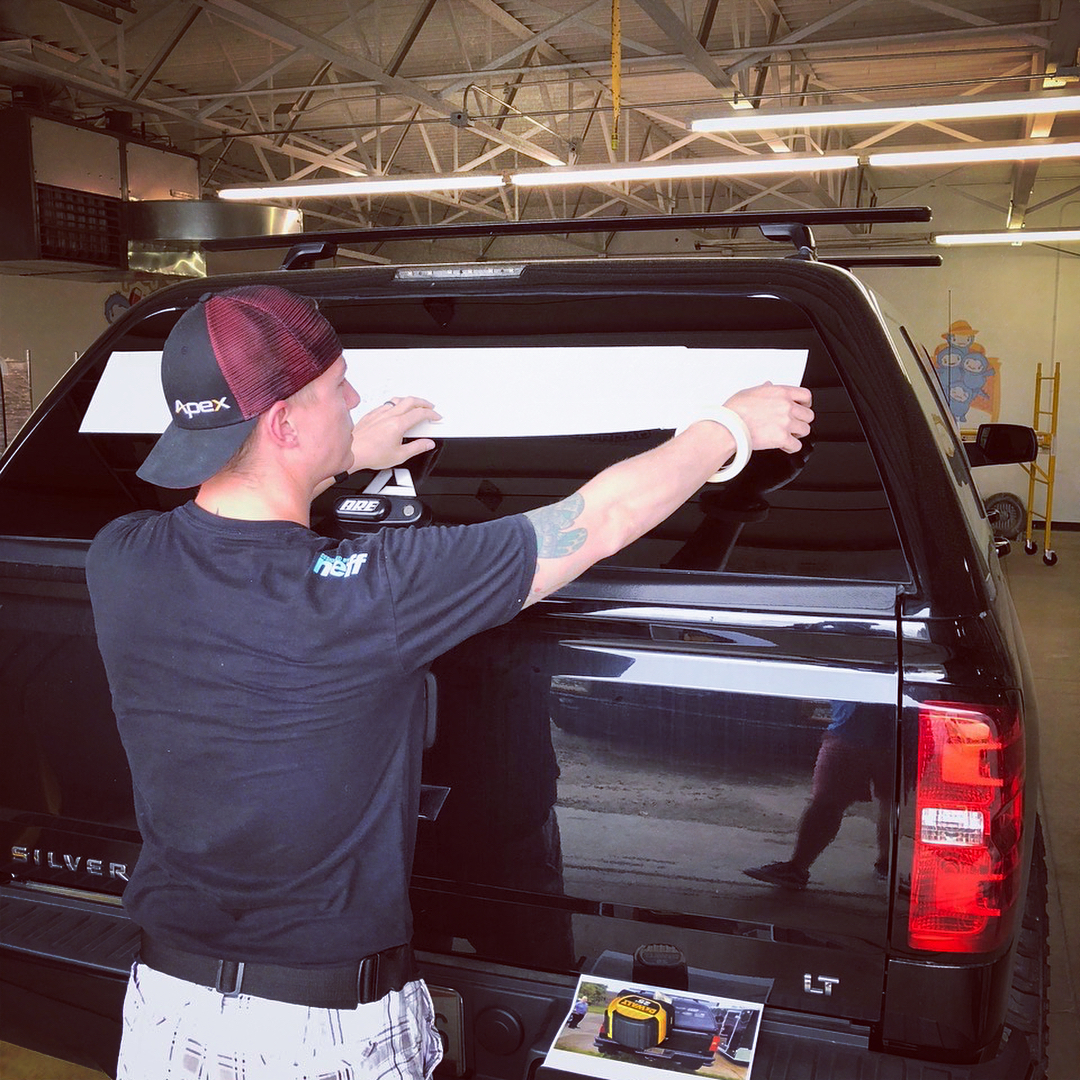
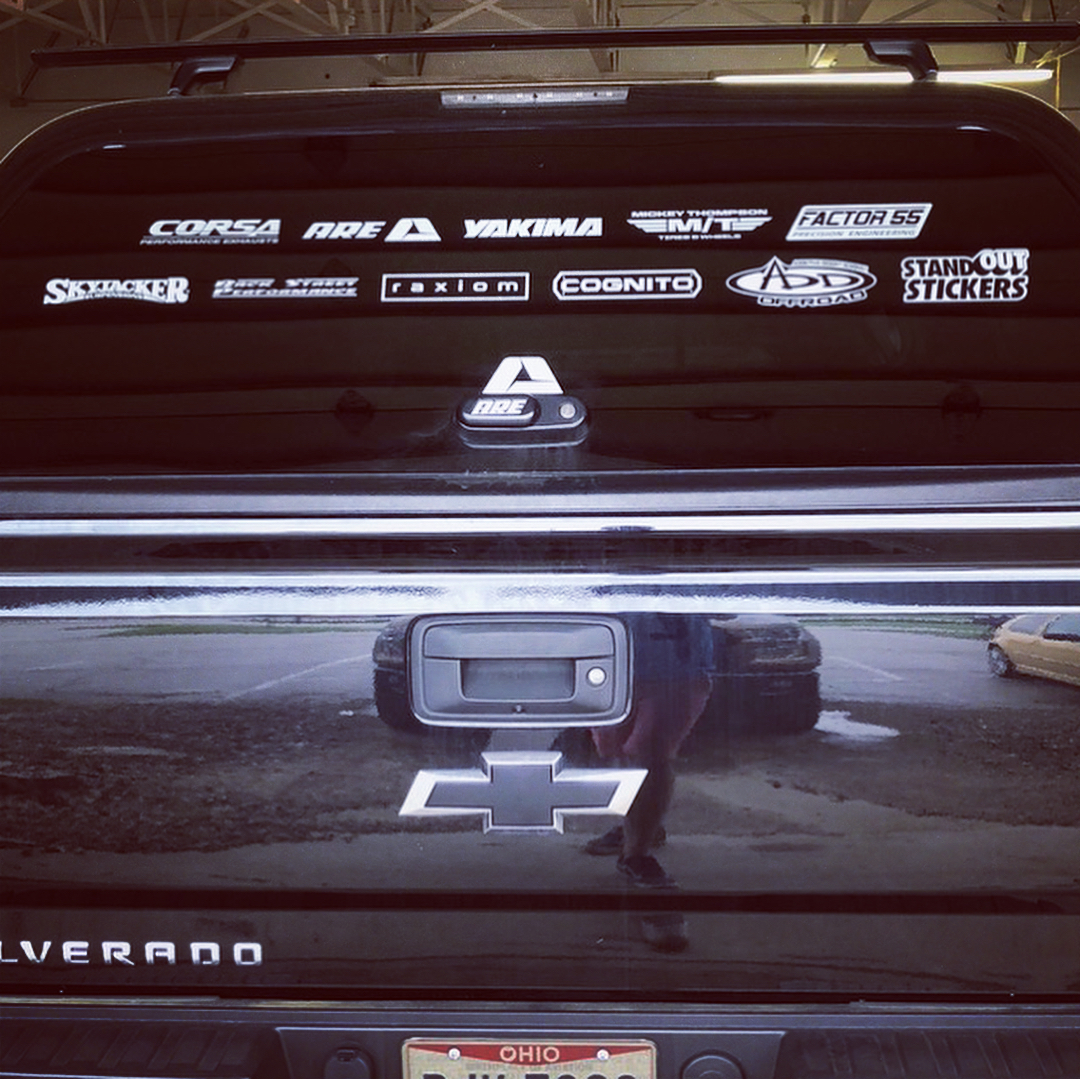
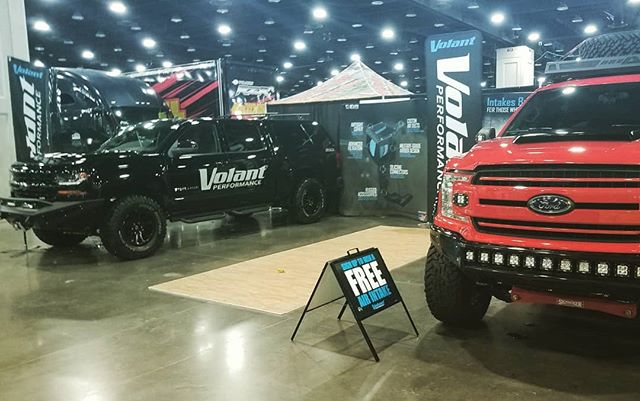
We recently created some Cut Vinyl Decals for Volant Performance these custom vinyl decals were expertly installed by our friends at Apex Signworks. This truck was prepared with our cut vinyl decals to show off at the Unlimited Off Road Show in Louisville, KY.
Last Modified: June 8th, 2018
We have two new videos showing cut vinyl decals installation tips and examples. A transcript of the first installation video is below:
Stand Out Stickers makes high quality cut vinyl decals. This video will show you how to install them.
Use a straight edge like a credit card to smooth out the decal and adhere the vinyl to the top installation layer. Take your time with detail areas of your design.
Slowly peel the decal away from the background. You’ll see the sticky side of the decal is now exposed.
Take your time with this installation process, you only get one shot.
Press the decal down on one end and smooth it out on the surface slowly from one end to the other to prevent bubbles and rippling. Again, use your straight edge on the decal to press the decal into the installation surface.
Slowly peel back the top layer. Use the tool to press any pieces that want to come up with the top layer.
Press out any minor air bubbles with your fingers or smooth straight edge tool.
Your decal is now installed and ready for years of use.
Thanks for watching! StandOutStickers.com
Also, make sure to take a look at our gallery of high quality Cut Vinyl Decal sample photos.
Last Modified: June 16th, 2014
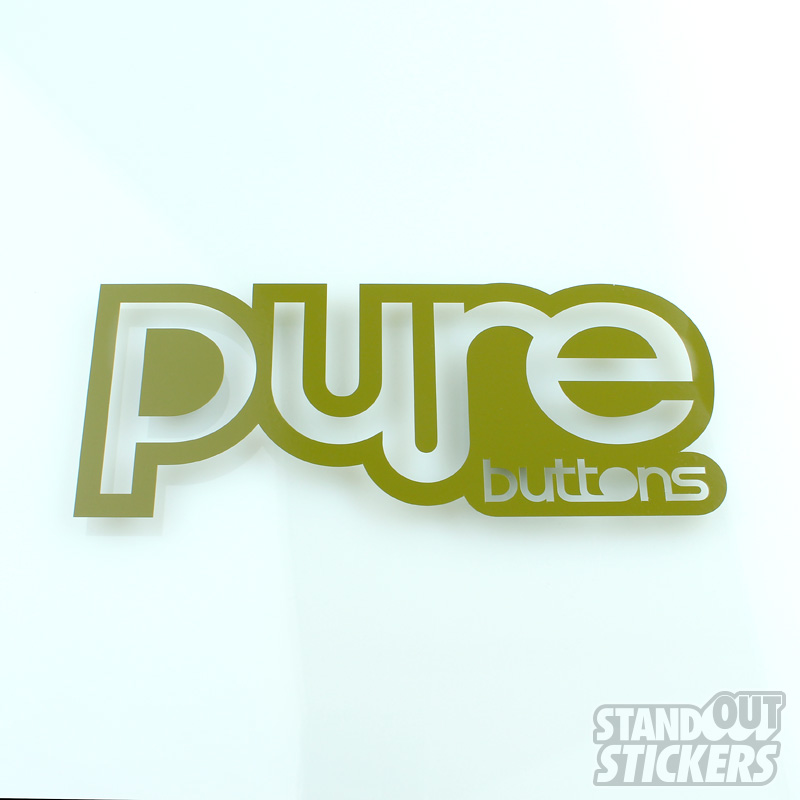
Take a look at this brand new video that we put together for our cut vinyl decals. This video outlines proper installation techniques and details about our custom decals.
And take a look at these photos of the vinyl decal featured in this video:
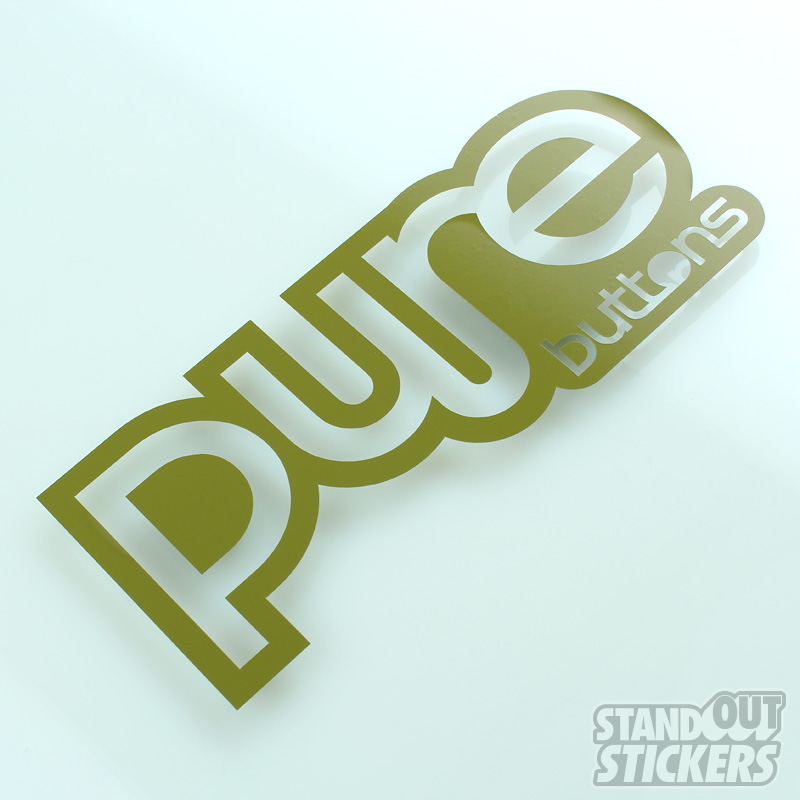
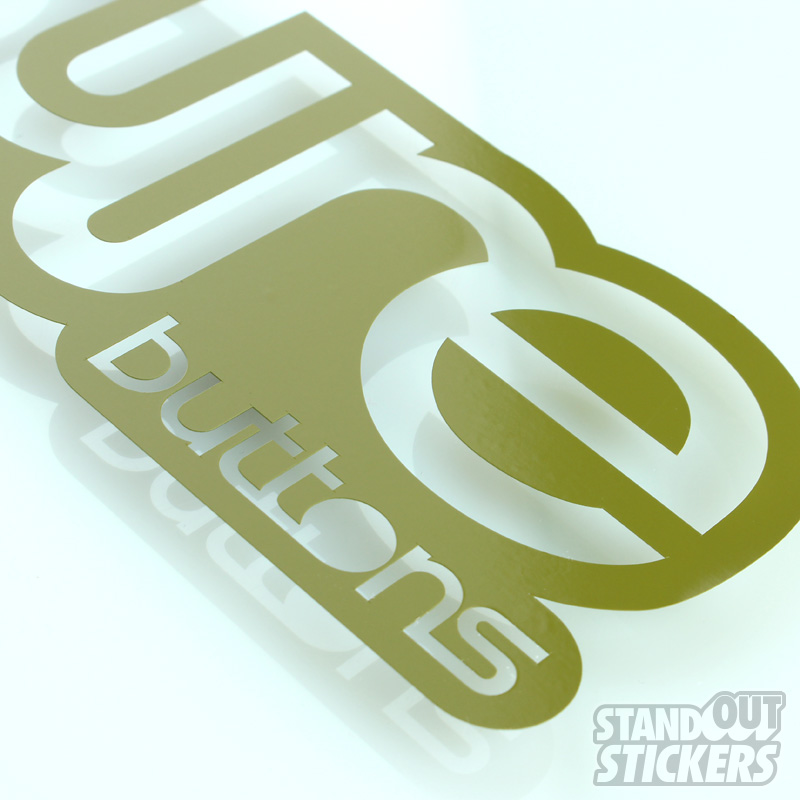
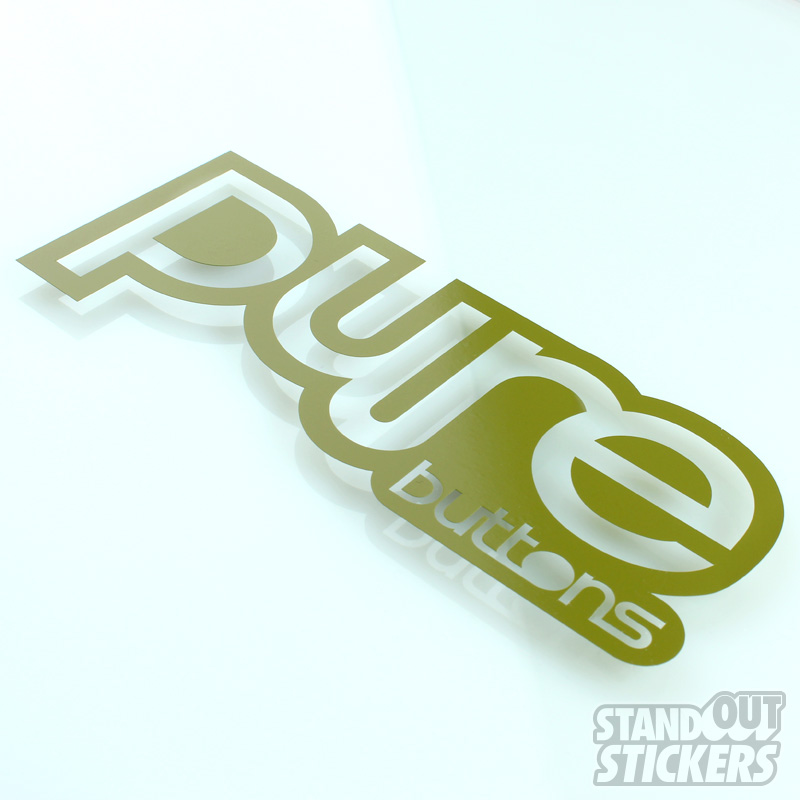
Last Modified: May 15th, 2014
Have a simple one color logo design? Maybe you might just need your companies logo with your hours posted on your front door. What ever the job is… we’ve got you covered with our Cut Vinyl Decals. By popular demand we are now able to manufacture custom cut vinyl decals. Please visit our Custom Cut Vinyl Decals Pricing page to learn more.
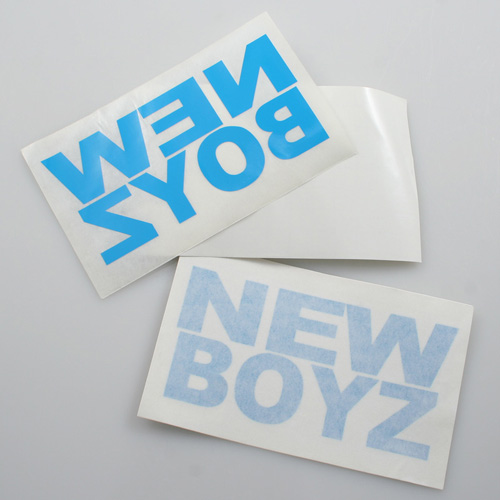
5″ x 3″ Cut Vinyl Decals with a single color vinyl
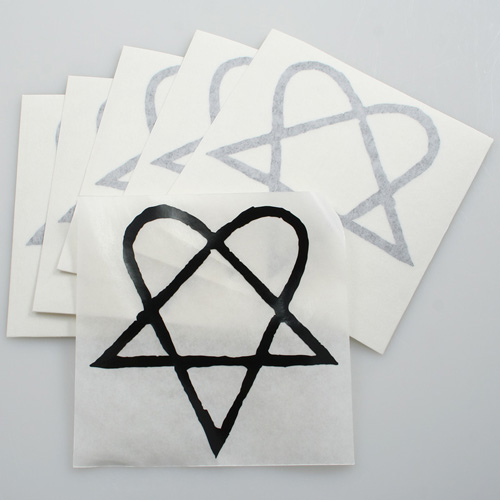
4″ x 4″ Cut Vinyl Decals for the band “HIM”
Our Cut Vinyl Decals will last outdoors in the elements for years to come without fading. Whether you need just (1) decal or thousands we’ve got you covered. We’ve developed a way to do these in large production runs to help keep our cost low. In return we pass the savings onto you!
Last Modified: May 24th, 2011